Showing posts with label Regina Stitchery Guild projects. Show all posts

Tuesday, November 24, 2015

2 More Stitched Pages

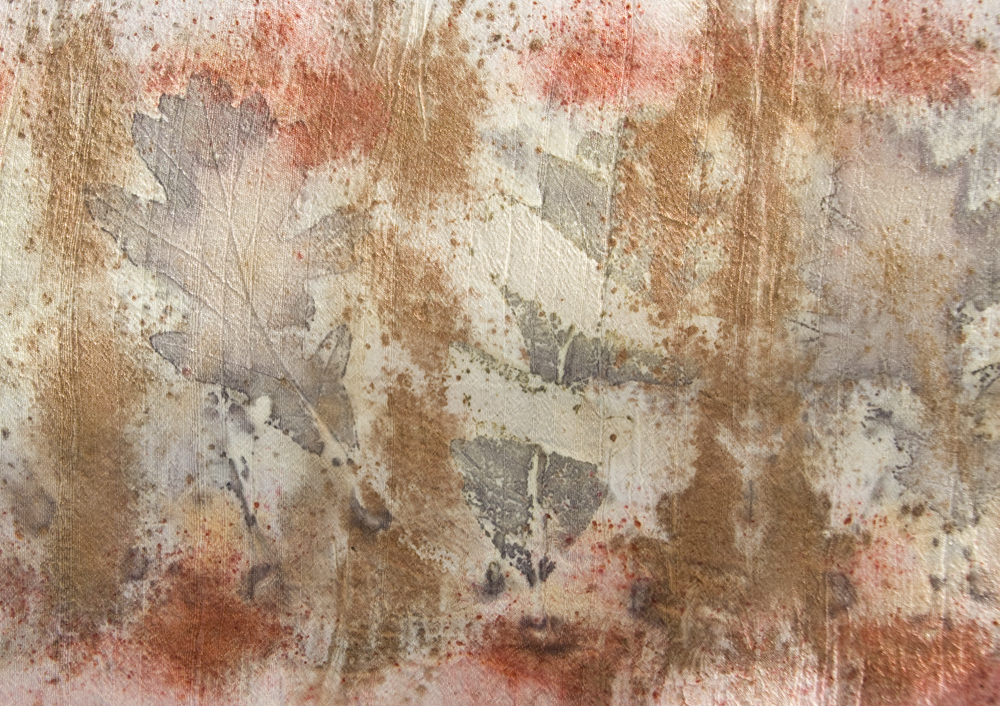
 On more of my eco-dyed fabric from a workshop I took in August with Arlee Barr and Karin Millson I finished my D page using detached buttonhole stitching.  For some reason I quite like this stitch and should incorporate it somehow in other things.
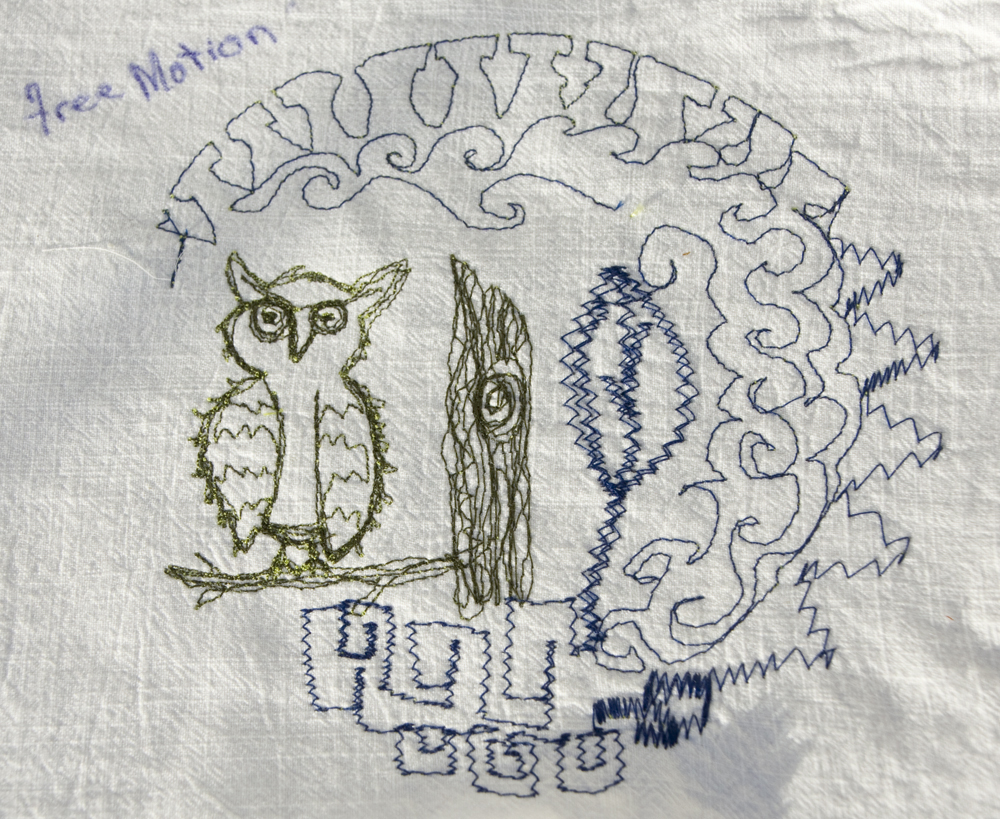
 My O page stitched with oyster stitches on onion dyed fabric.  This was a bit tricky to learn and I had to practice it a number of times on a scrap piece of fabric.  I free motion embroidered the owly :)
 This free pattern is available from Holly's Hobbies.  I just had to stitch it for myself :)
 Another free pattern from Happiness Is Cross Stitching.  This little ornament will be a gift for one of my sister's in law.  Free patterns on the net that are so easily downloaded are great!!
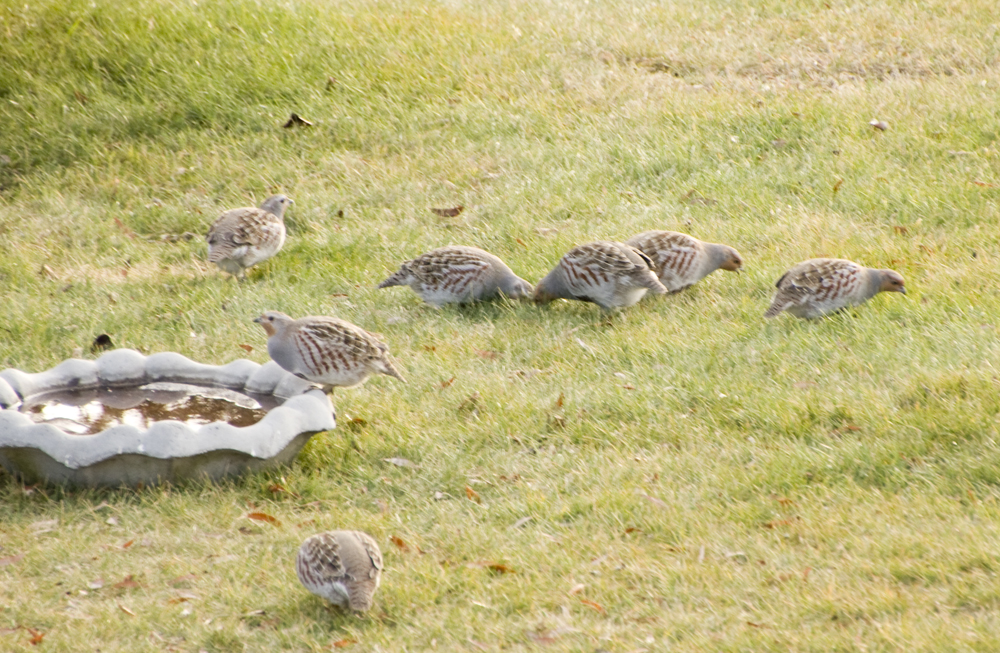
The Grey Partridges are back in the yard.  Haven't seen them all summer but now with cooler temperatures and a bit of snow they've come back.  Hope all 7 of them make it through the winter.


Hope everyone will be able to find some quiet stitching time today.
Thanks for popping by :)

Tuesday, November 3, 2015

Blackwork & Blue & White

 Progress on my B for Blackwork Alphabet Stitch Book.  I had forgotten how lovely blackwork embroidery is.
Another LOVE of mine is Blue and White.  A task I never find onerous at all is taking down all my blue and white dishes and washing them.

Have a MOST enjoyable day and week everyone and thank you for popping by :)

Friday, October 30, 2015

Alphabet Stitch Pages

 Our stitchery guild's program for the year is to make our own alphabet stitch book in whatever stitches we want.  I'm doing Blackwork for B...
 cross stitch for the letter C ( I had made this years ago and it had been pinned to my bulletin board),
 free motion for F on a piece of eco dyed fabric,
 and wheatear stitches for the letter W also on a piece of eco-dyed fabric.  I haven't finished the edges yet or backed them as I'm still mulling over that detail.
 Sharon Boggon's Take A Stitch Tuesday (TAST) on her Pintangle site is moving right along and since my last post I've added french knots and wheatear stitches, neither of which I thought would be good for a beak.  Hope next weeks stitch will be.
A couple of days ago when my daughter and I were doing the dishes, she noticed that a coyote was walking through the garden and into the yard.  Hubby went onto the deck and took some photos and it didn't run away but stopped and looked at him and then continued to walk through the yard.  It looked in pretty good condition but on closer inspection of the picture we could see that something was the matter with its one eye.  Hope it will recover and be okay.

Sending you all joy and bushels full of creativity :)

Saturday, October 17, 2015

Herringbone, Running & Satin Stitches

 Our stitchery guild began a program last month to make an alphabet book with stitches.  We can use any material or stitches or sewing we want.  I decided to use my rust and eco dyed material and began with the letter H and Herringbone stitches.  This piece of fabric was rust and loose tea dyed.
 The letter R for running stitches as well as for the rust and rose leaves.
 I've been working on this embellished purse for months and the end is in sight. Various yarns, cheese cloth, wool roving and organza was first "sewn" down using an embellishing machine onto a piece of denim.  I've added seed, feather, herringbone, cross stitches and beads and just have blue wooden beads to add to the tassels.  Not sure if I'll ever really use it and think of it more as an art purse rather than a functional one. 
 Caught up with Sharon's Take A Stitch Tuesday and this week added satin stitches.  Don't know what next week's stitch will be yet but I'm hoping it's one that I'll like for the beak.
 We don't often see a Blue Jay in the yard but this one showed up the other day.  Today we enjoyed his antics at getting the peanuts out of the coil and watching him fly back and forth to hide them all.  The wiley Magpies were watching of course and more than likely ate them all.
Finally, finally dug up the rest of the carrots today so that's it for another bountiful garden year.

Wishing everyone a fabulous Fall day :)

Tuesday, September 22, 2015

Eco Dyeing & Experimental Machine Sewing Workshop

 I had the wonderful opportunity to attend a Stitch Extreme Combo workshop with Arlee Barr & Karin Millson.  We eco dyed and practiced sewing samples adjusting the upper and lower tensions, using different thread thicknesses and adjusting out stitch lengths and widths.  Here I laid out maple, oak, willow and dogwood leaves.
 Rolled up on 2 wooden dowels which I then bound up tightly.
 Arlee placed all of our bundles in the pot to gently "cook" for an hour.
 The dogwood and oak came out with nice distinctive shapes, the maple and willow leaves were quite pale.
 Onion skins snipped and laid out.  I folded the other half of the cotton over, rolled it on the dowels, bundled it up and put it in the pot for an hour.
 I was so surprised at how good a print the onion skins made!  This will be a fun piece to stitch :)
 I took a lot of notes and here are 2 cransebill leaves with loose tea sprinkled around it.  Arlee gave us some madder root powder to use as well.
 Cranesbill gives a very good print for eco dyeing and as you can see the madder root and loose tea give off good colour as well.
 Here are a few of my sewing samples as we played with adjusting our top and bottom tensions on our sewing machines as well as experimenting with different kinds of threads and stitch widths and lengths.
 While our bundles were eco dyeing Karin had us try all manner of different things most of which I did not know my sewing machine could even do!

 More tea and madder root eco dyeing on silk using oak leaves.
 One of my favourite peices - a rust dyed piece of cotton with raspberry leaves.
 Karin and Arlee were an excellent team and we learned A LOT from them.
Taking a leaf image from one of my dyed pieces I tried to replicate it using some of the sewing techniques we learned.

Eco dyeing and using my sewing machine are definitely in my future.
Have a terrific week everyone :D

Friday, August 21, 2015

Summer Challenge

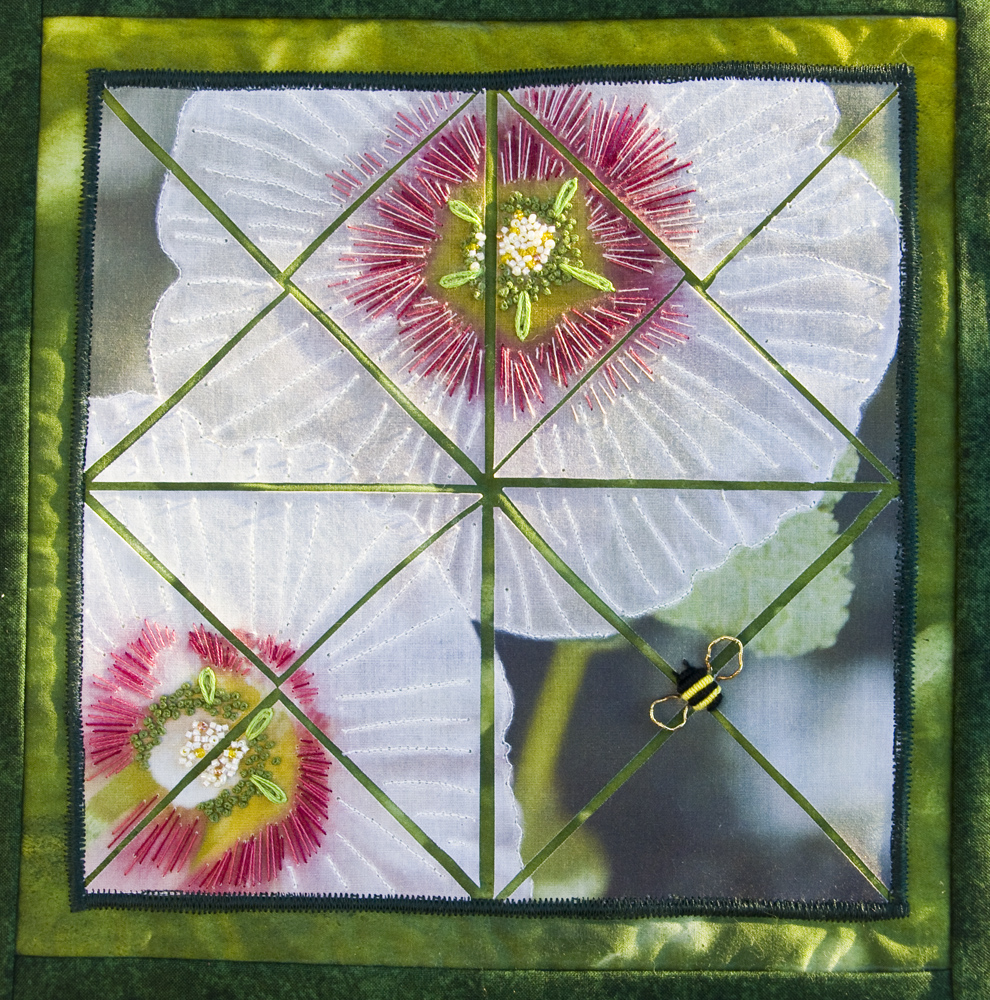
 Finished my challenge piece in plenty of time for our stitchery guild meeting in September.  This is a picture I took of my hollyhocks which I printed onto fabric and did some hand and machine stitching on. My finishing techniques by trying to sew a quilt type border leave a lot to be desired but it's done!
Added the blue chevron stitches on my TAST owl.  So glad that Sharon is running Take A Stitch Tuesday again :D
Tried my hand at rust dyeing and used washers, nails, an old rusty horse bit and a long chain.  I spritzed it with vinegar water, put it in a plastic bag and let it rust for a day in the sun.  It certainly didn't take long at all to dye.
Here's another small piece that I rust dyed using washers and a bit of wire.  I forgot about it so after 3 days it was pretty black.  But I soaked it in salt water to stop the rusting process and rinsed and rinsed.  I'm rather happy how it turned out after all.
Very glad that these zucchini are all spoken for.  They've been very prolific as usual :)
I've never had such beautiful morning glories as this summer.  They seemed to like being planted along a row of bachelor buttons too.
Thank you for stopping by.  Have a glorious day and weekend :D

Tuesday, July 28, 2015

TAST Owl start

 I am so pleased that Sharon at Pintangle is running her Take A Stitch Tuesday again.  I loved doing it back in 2012.  Last time I did each stitch into a long banner but this time around I thought it would be fun to incorporate each stitch onto an owl.  Week 1 was the fly stitch - outline of the wing.  Week 2 was buttonhole - eyes, and I saw this morning that this week's stitch is the feather stitch.  Great :)
 My finished pulled thread chatelaine all ready to go to be "graded".  This was an Embroiderer's Association of Canada correspondence course that a number of us from our guild took.  I had no idea there were so many variations!
 Over the summer our stitchery guild members have a summer challenge.  We are to make an original piece however large or small in whatever threads or backgrounds but incorporate triangles into it.
I took a picture of one of my hollyhocks, printed it onto a piece of cotton, cut it into triangles and wonder undered them onto a green piece of fabric.  I'm now doing some stitching and free motion embroidery and beading onto it. It will be great seeing what others have done when we back back in September.

Hope everyone is enjoying their last few days of July :)


Monday, July 13, 2015

Pulled Thread Progress

 Very slow progress on my pulled thread chatelaine but it's coming along.  This variation is called satin bars.  To begin, 3 horizontal satin stitches are worked over the same 3 threads in the same space.  Then continuing to work down, 10 stitches are worked over 3 threads.  3 horizontal satin stitches are worked over the same 6 threads in the same space.  Having diagrams to go along with the instructions certainly helps!
 Beginning the double back stitch & blocks.
 I like the look of this step stitch.
 This design is worked with a double row of satin stitches and a honeycomb stitch variation called "bricking".
 We recently went on a road trip and while I can't do pulled thread in the car I can crochet :)

This sweet little 13 Lined Ground Squirrel has made herself quite at home in our backyard.

Have a most delightful and lovely July day :)